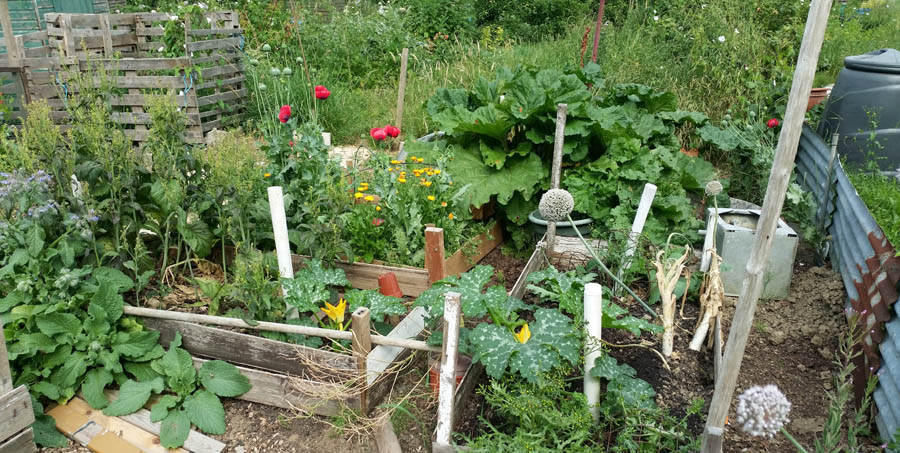
In the twenty years since I planted a tiny little stick, it has become a huge grape vine, sweeping around the side of the house and smothering the shed roof.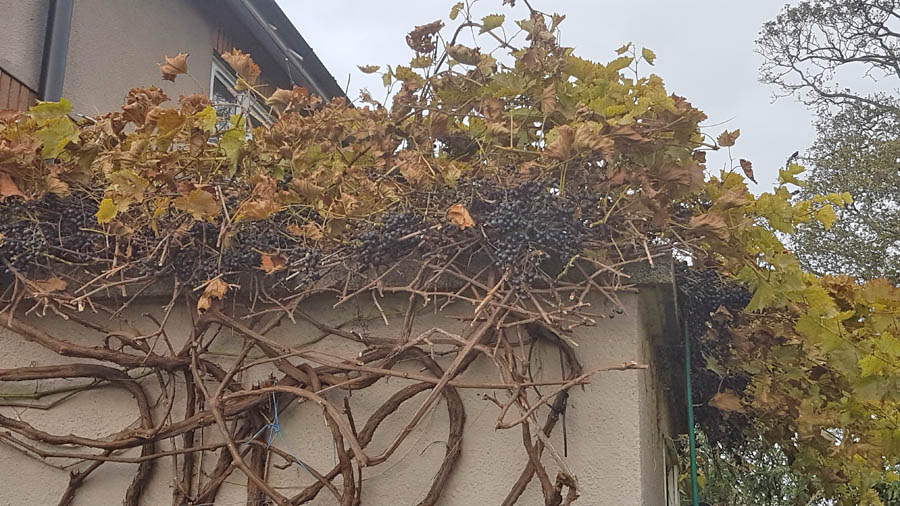 Although it produces a tremendous amount of fruit, the grapes are small. Most of their insides are occupied by two large seeds. They’re not much use for eating, but with a bit of effort can provide a lovely juice.
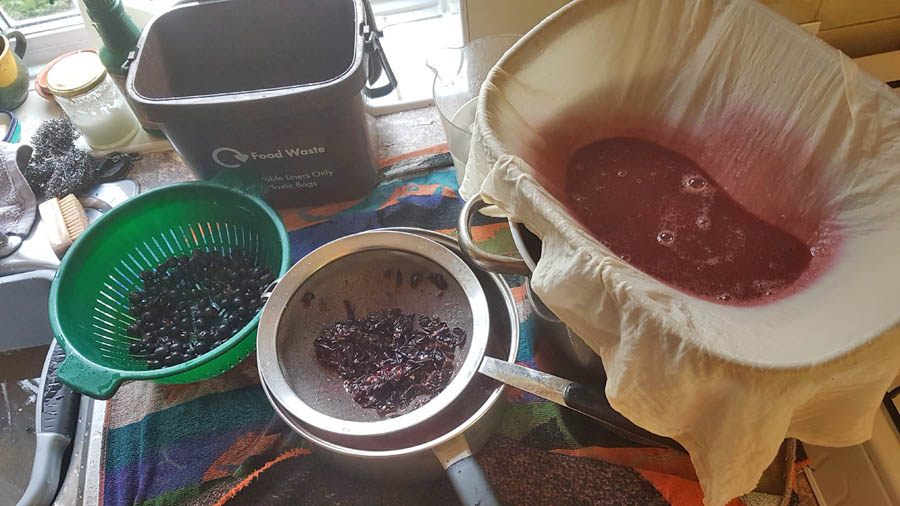
The first task is to pick the grapes and leave them in a basin covered with cold water for about ten minutes. This allows any insects among the bunches to escape, and some of the debris to float to the top where you can scoop it off.

Take the bunches out one at a time, strip off the grapes and compost the stalks.

Now you need to squish the fruit to extract the juice. We tried a small fruit press, but it wasn’t any faster than crushing the grapes by hand through an ordinary sieve.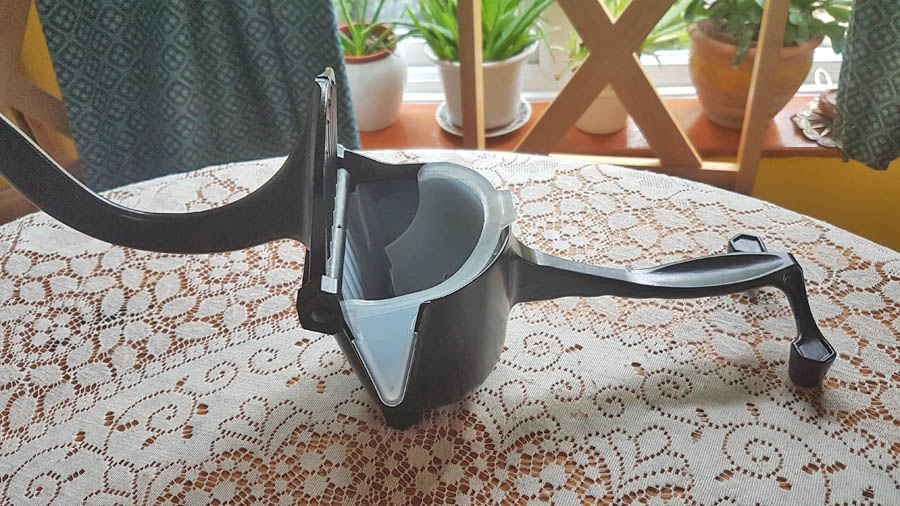
 The picture above shows two stages. First the grapes are squeezed through the sieve in the centre, then the juice is poured into a larger sieve lined with muslin. The smaller sieve needs frequent rinsing out, and the muslin has to be changed quite often. Sterilise the cloth by soaking in brewers’ grade steriliser (or Milton fluid) and rinsing well in clean water. Wear a plastic apron if you have one, as the whole process can be very wet.
The pictures below shows the muslin clogged with fine particles. Move the cloth around to use clean areas, but you’ll need a good half dozen pieces ready to use.

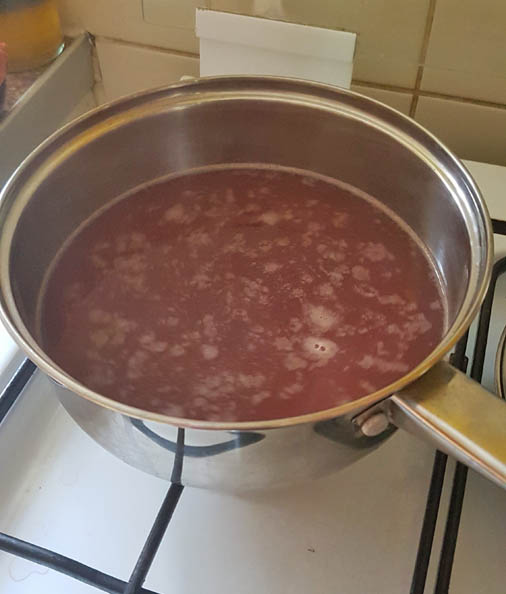
 The juice collected in the second pan can now be pasteurised. Always use stainless steel pans for making fruit juice. Non-stick will work, but not cast-iron. If you use enamelled pans, make sure there are no chips in the surface.
Heat the juice gently to at least 70 degrees Celsius and hold it there for at least a minute. Stir it to make sure the heat is distributed all the way through. You ought to use a cooking thermometer for this. However, we brought both our batches to nearly 100 degrees (boiling point), by not paying enough attention, and it didn’t harm the juice. So if you can’t get hold of a thermometer, it should be okay to just let the juice gently bubble, then turn the heat straight off.
If it’s not done enough, it’ll ferment in the bottles, so always use proper swing-top beer bottles, or corked wine bottles to store home-made juices. Never use screw-top bottles, as they might explode.
 This is the juice just after being heated. Note that it still has impurities in it even after the straining. We pasteurised one batch in the bottles, but these impurities rose to the top and made a mess, so we redid that batch as above. We strained the pasteurised juice through clean muslin again, and decanted it into sterilised bottles.
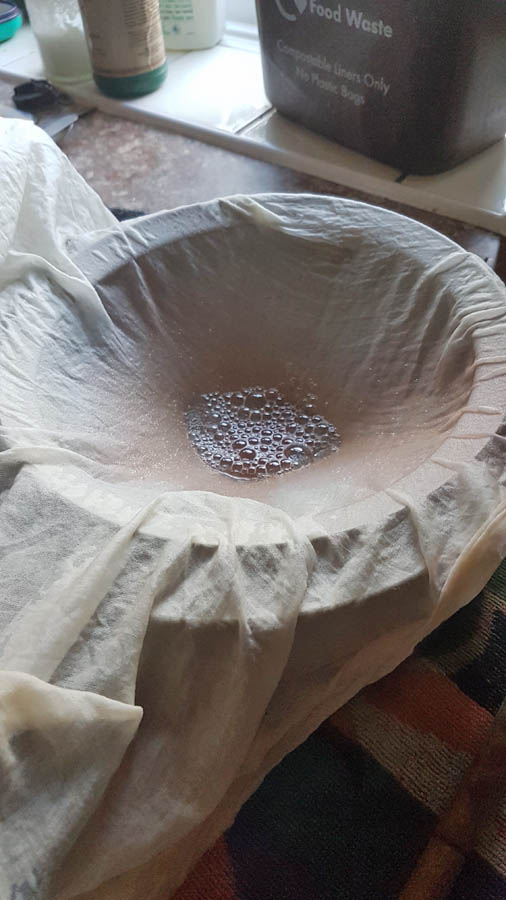 Note the second straining doesn’t leave so much residue. Even with these precautions, there’s still a little sediment in the finished bottles once they’ve settled for a few days!
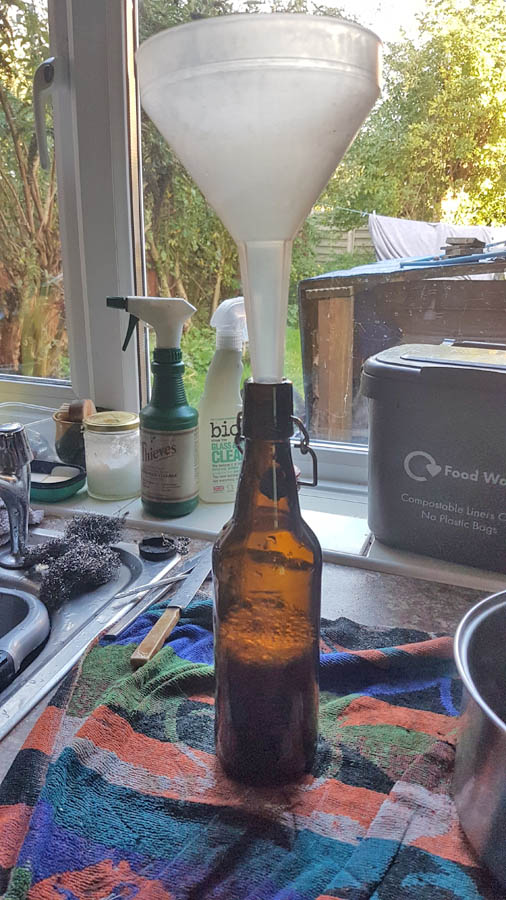
Rinse out the bottles, preferably with hot water. Glass can crack if it’s too cold when you pour hot liquids in. Note the work surface is covered with a towel; this had to be changed for a dry one at regular intervals. It isn’t a fast process; with the first batch it took me about 8 hours to fill a dozen bottles with the finished juice!
 It’s worth the trouble though. Home pressed grape juice is delicious, free of additives, and thoroughly resilient. Our next project is to try and extract grape seed oil from the residues, but we might leave that for next year!